
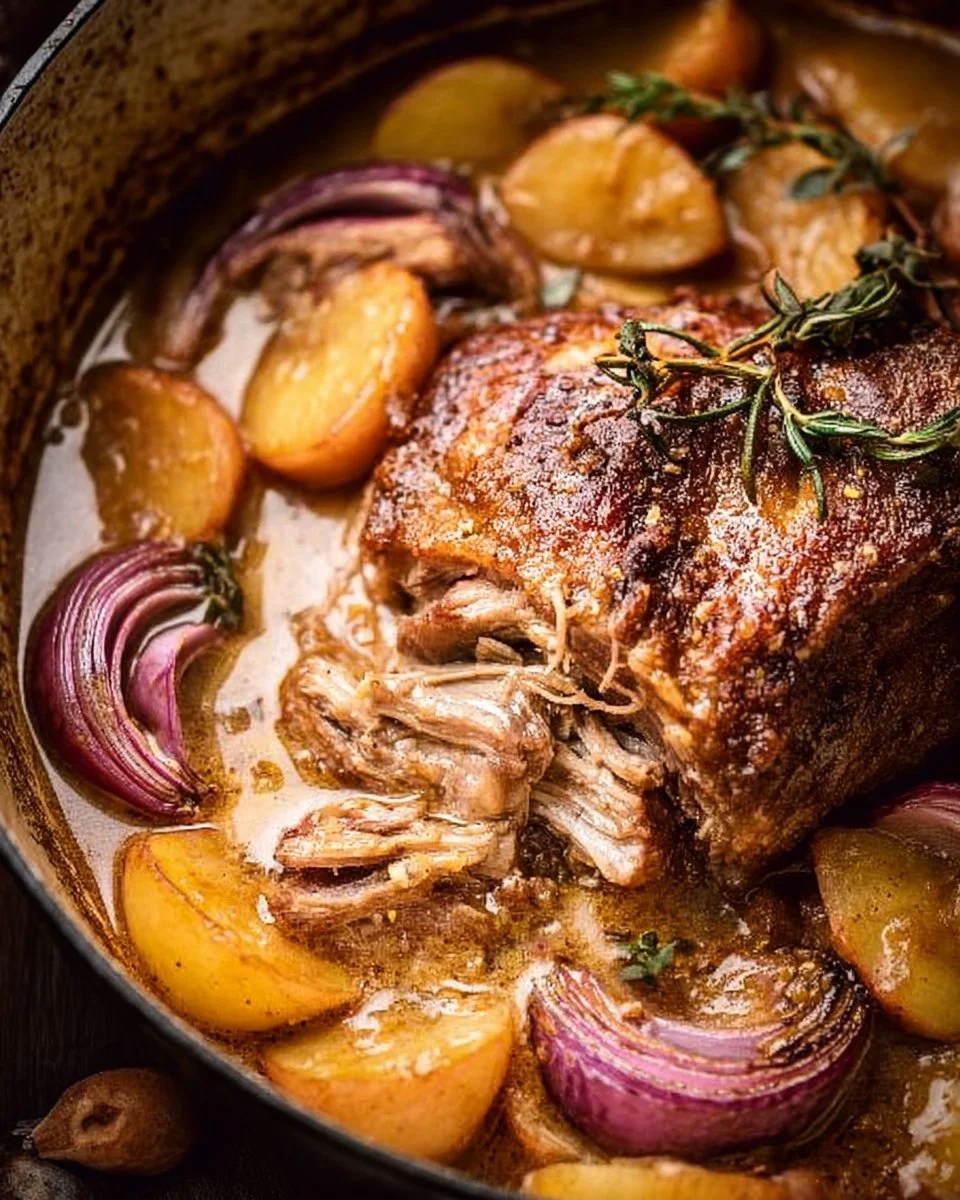
When it comes to comfort food, few dishes can compete with Apple Cider Braised Pork Shoulder. This hearty meal not only fills your home with an intoxicating aroma but also offers a delightful harmony of flavors that leaves everyone at the table asking for seconds. Imagine tender, juicy pork infused with the luscious sweetness of fresh apple cider, complemented by savory herbs and vegetables. It’s the perfect dish for special occasions, family gatherings, or a cozy weekend dinner. If you’ve never tried braising, this recipe is an excellent introduction, showcasing how simple ingredients can create a rich and satisfying meal.
What Makes This Recipe Stand Out
This Apple Cider Braised Pork Shoulder is not just a meal; it’s an experience. The combination of the pork shoulder’s rich, fatty flavor with sweet apple cider creates a succulent dish that’s hard to resist. It’s budget-friendly, requiring just a few simple ingredients that you might already have in your pantry. The beauty of this recipe lies in its simplicity: once you do the initial prep and searing, the oven handles the rest, allowing you to enjoy the comforting smells wafting through your home while you kick back and relax. Plus, it’s scalable—perfect for feeding a crowd or simply meal prepping for the week ahead!
How This Dish Comes Together
The process of making Apple Cider Braised Pork Shoulder begins with a little prep work: seasoning the meat and searing it to achieve that golden crust. After browning the pork, a mixture of apple cider, chicken stock, and seasonings comes together to create a delectable braising liquid. With some herbs and garlic added for depth, everything goes into a Dutch oven where it braises slowly in the oven, transforming the pork into an unbelievably tender and flavorful dish. Finally, adding red onions and apple wedges at the end provides a fresh, contrasting textural element. The whole process requires minimal hands-on time, making it an effortless masterpiece.
Ingredients
Prep Time: 15 minutes
Cook Time: 3 hours and 15 minutes
Total Time: 3 hours and 30 minutes
Servings: 6-8
- 4-5 lb pork shoulder roast or Boston butt roast
- 2 tablespoons neutral oil
- 2 cups fresh apple cider
- 2 cups chicken stock or broth
- 2 tablespoons Dijon mustard
- 1 tablespoon dehydrated minced onion
- 1 head of garlic, top sliced off opposite of the root end
- 3 rosemary sprigs
- 4 thyme sprigs
- 1 red onion, cut into thick slices
- 2 firm and slightly tart apples, peeled and cut into wedges
- Kosher salt
- Freshly cracked black pepper
Apple cider is the star of this dish, providing natural sweetness and acidity that balances the pork’s richness. Fresh herbs like rosemary and thyme add an aromatic touch, while the head of garlic infuses the meat with robust flavor. The apples contribute a delightful texture and sweetness, making every bite a flavorful experience.
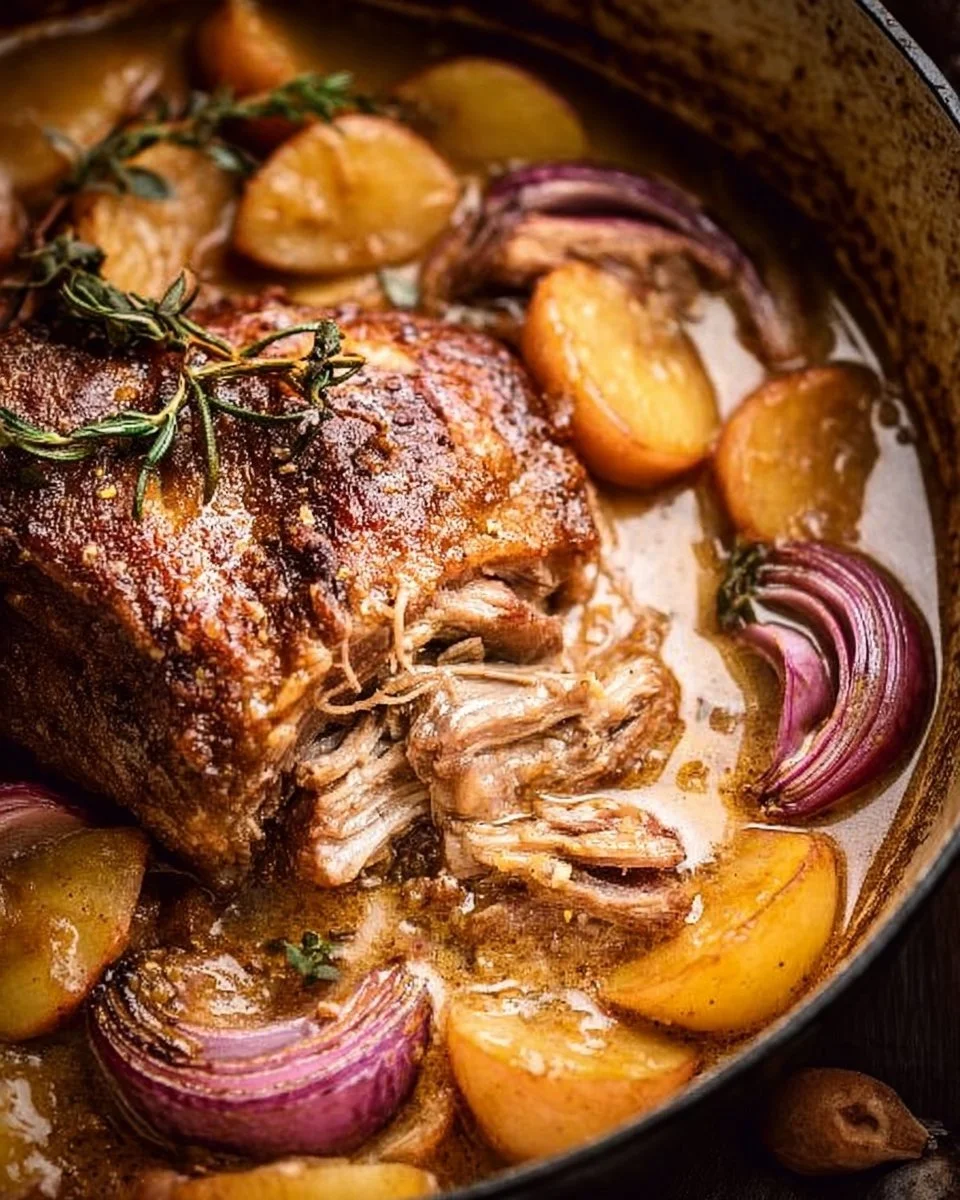
How to Make Apple Cider Braised Pork Shoulder
- Preheat your oven to 325°F (160°C).
- Trim excess fat from the pork shoulder, ensuring that you leave a bit for flavor, and season it liberally with kosher salt and freshly cracked black pepper.
- Heat the neutral oil in a large Dutch oven over medium-high heat. Sear the pork on all sides until it is deeply browned, giving it a nice crust. This step is crucial for flavor, so don’t skip it.
- In a separate bowl, whisk together the apple cider, chicken stock, Dijon mustard, and dehydrated minced onion. This homemade braising liquid will keep the meat juicy and infuse it with flavor.
- Tie the rosemary and thyme stems together using kitchen twine, making it easier to remove after cooking. Add this herb bundle along with the head of garlic to the pot.
- Pour the braising liquid into the pot, ensuring that the pork is mostly submerged, and cover it with a tight-fitting lid.
- Place the Dutch oven in the preheated oven and braise for about 3 hours. The low, slow cooking will make the pork wonderfully tender.
- After approximately 2.5 hours, check the pork for doneness and flip it halfway through the cooking time. This ensures even cooking and flavor distribution.
- About 30-45 minutes before the cooking time is up, add the thick slices of red onion and apple wedges to the pot, cover again, and let it cook until everything is tender and the pork is easily shreddable.
- Remove from the oven and let the pork rest in the cooking liquid for about 30 minutes before serving. This resting period helps redistribute the juices, resulting in an incredibly moist dish. Serve with the delicious juices spooned over the pork for added flavor!
Tips for success: Ensure your Dutch oven is large enough to hold the pork comfortably without crowding. Feel free to check the seasoning of the braising liquid before pouring it into the pot; if it tastes great at this stage, your final dish will be even better!
Serving Suggestions
Apple Cider Braised Pork Shoulder is incredibly versatile when it comes to serving options. It pairs wonderfully with creamy mashed potatoes, buttered noodles, or a fresh garden salad for a lighter touch. If you’re feeling adventurous, try serving it alongside roasted vegetables or a warm quinoa salad for a healthy twist. To quench your thirst while enjoying this meal, a crisp apple cider or a light-bodied white wine like Sauvignon Blanc can complement the dish beautifully. This dish shines for festive gatherings and family dinners, creating moments of warmth and togetherness around the dining table.
How to Store and Reheat
If you find yourself with leftovers (which is often the case!), Apple Cider Braised Pork Shoulder stores beautifully. Place it in an airtight container and refrigerate for up to 3-4 days. For longer storage, consider freezing it in a freezer-safe container for up to 3 months. Make sure to also save some of the braising liquid, as it helps to keep the meat moist when reheating.
To reheat, thaw overnight in the refrigerator if frozen and warm it in a saucepan over low heat, adding a bit of braising liquid as needed. You can also use the microwave, but be cautious to heat it in short bursts so that the pork does not dry out. Enjoy your leftovers in tacos, sandwiches, or on their own, just as delicious the second time around!
Helpful Tips for Success
To ensure your braised pork shoulder turns out perfectly every time, here are some pro tips:
- Choose a good cut of pork: A well-marbled pork shoulder will yield better flavor.
- Don’t rush the searing: Achieving that golden-brown crust is essential for depth of flavor.
- Be patient when braising: The longer, slower cooking yields the most tender results.
- Seasoning matters: Don’t be shy with the salt and pepper; they enhance the natural flavors.
- Check for doneness: Pork is perfectly cooked when it reaches an internal temperature of at least 190°F (88°C), which is when it begins to fall apart.
Delicious Variations You Can Try
This recipe is wonderfully adaptable! Here are a few variations to consider:
- For a spicy kick, add red pepper flakes to the braising liquid.
- Swap the fresh herbs with dried ones if you don’t have fresh on hand; just use about a third of the amount since dried herbs are more concentrated.
- Substitute the apples with pears for a different, yet equally delicious flavor.
- Throw in carrots or parsnips along with the onions and apples for extra veggies.
- If you prefer a sweeter glaze, stir in a tablespoon of brown sugar into the braising liquid.
Common Questions About Braised Pork
Here are some frequently asked questions to help you while preparing your dish:
- Can I use a different type of meat? Yes! Beef chuck roast or lamb shanks can also work beautifully with similar braising methods and timings.
- What should I do if the pork is tough after cooking? If you find your pork shoulder isn’t tender, it likely hasn’t been braised long enough. Return it to the oven and cook for another 30 minutes, checking regularly.
- Can I make this dish ahead of time? Absolutely! The flavors only get better as they meld together. You can easily make it a day in advance and reheat it before serving.
- Is this recipe gluten-free? Yes, as long as you ensure that your chicken stock is gluten-free and you use Dijon mustard that meets gluten-free requirements.
- How can I thicken the braising liquid? If you prefer a thicker sauce, you can remove the meat once it’s done cooking and simmer the braising liquid on the stove until it reduces to your desired consistency, then whisk in a bit of cornstarch mixed with water.